Electromagnetic System Model Creation
Preparing to collect data using an electromagnetic system consists of the following steps:
- Transmitter setup, connection, and leveling
- Target line calibration
- Sensor placement and calibration
- Data collection
Transmitter setup, connection, and leveling
Set up for the system and transmitter box is relatively simple. The transmitter wire must be connected to the computer, and then the transmitter box must be set so that it is exactly horizontal. This is easily accomplished by using a level placed on top of the transmitter box, and adjusting the tilt of the box with the tripod that comes with the system.
Target line calibration
The software will also need to know where the target line is relative to the transmitter. This will define the volume of space where the golfer will be swinging when collecting data.
Eric: We have the pleasure of being joined by Dr. Rob Neal of Golf BioDynamics today. Rob, welcome.
Dr. Neal: Thank you very much Eric. It is my pleasure to be here and today I'm going to show you how to use electromagnetic tracking system to capture the swings of our golfer in real-time. And then importantly to show you how to use that same system to conduct a training session using biofeedback.
So this step is to make sure that the transmitter here or the source of the electromagnetic field is level and parallel with the target line. So you set the bubble of the circular level right in the middle and do your best to get this face parallel with the target line. So it is very important to define the target line and this purple alignment rod is aimed directly at the target. And what we'll do is digitize the far end and then the end closer to the target and find the angle between this line that we just calculated and the transmitter and that will allow us to rotate the transmitter in software so that it is parallel with the target line. And that completely defines the coordinate system that we're going to use in the 3D analysis.
Meet Maribel
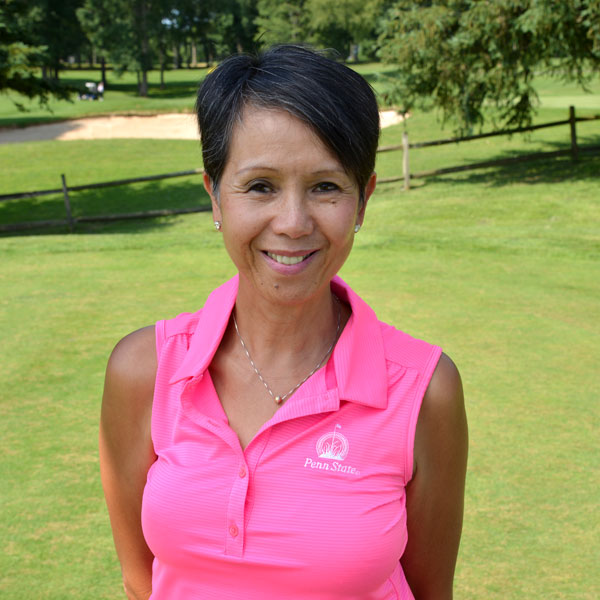
Maribel plays multiple times a week at the Penn State Golf Courses as part of the women’s golf league. As a 12 handicap, she has had some instruction in the past. Her typical 6 hybrid distance is 100 yards and a typical drive distance is about 130 yards. Direction control is a strength of hers, but she would like to add a few more yards to her full swing shots.
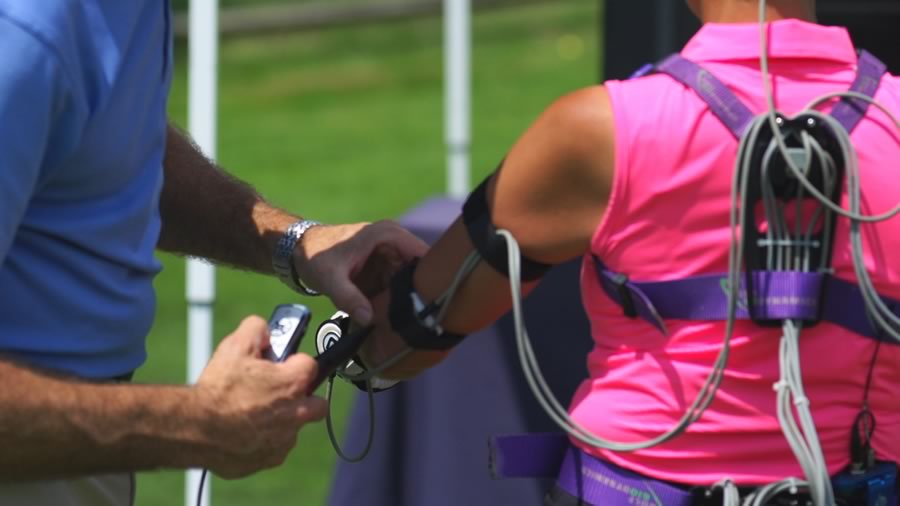
Sensor placement and calibration
The next step is attaching the sensors to the golfer and then calibrating the sensors to the body. Most systems, like the Golf BioDynamics system seen here, have some kind of straps to attach the sensors to the golfer. They go on specific locations on the body. They don’t have to be exactly placed in certain positions because the calibration process will adjust for the exact location and orientation of each sensor. They do need to be attached snugly so that they do not slide. Also, they typically are placed on parts of the body that have less muscle and fat - since these soft tissues tend to move more than just the skeleton, and it is the motion of the skeleton that we are trying to track. Once the sensors are attached to the golfer, and the wires are secured, the anatomical calibration process begins.
An extra sensor is typically attached to a pointer. The location of the tip of the pointer is a known, exact location. The tip of the pointer is placed on very specific anatomical locations throughout the body. This tells the system how long each segment (limb) is, and exactly how the sensor on the segment is oriented relative to that segment.
The system then calculates a ‘correction factor’ (more specifically a rotation matrix) that tells us that 10 degrees in one direction of the sensor is X degrees of tilt for that segment. This process allows us to then determine the exact position and orientation of each segment that is going to be measured and analyzed during the golf swing.
Data Collection
The set-up and calibration process takes a bit longer with the electromagnet system, but once everything is set, the golfer is ready to take some shots to begin the data collection process.
Dr. Neal: So Maribel this is going to be quite an experience here. We're going to put some sensors on your body, in fact the sensors that are in here, then give you a chance to get comfortable swinging with them. Once you get comfortable my experience has been no problem at all.
We'll test your driver first and then after that your six hybrid and do some biofeedback following that. So like a jacket, if you put your left arm through there, right through here and then clip this one at the front for me please Maribel. Great. How's that? Not too tight is it?
Maribel: No, it's good.
Dr. Neal: Okay. So hold it here, keeping your hair out of the way and then slide that down and then I'll just tighten that up a touch. Not too tight right?
Maribel: No.
Dr. Neal: Good. Goes on your left elbow. Now this one does have to be on firmly alright but you let me know if I pull it too tightly. And this one right underneath your glove. And above the elbow nice and firmly. This one is going to go on the club shaft. Could you just make, right where you are there, a couple of practice swings here for me? Right. Full swings now.
Your target is the white flag out there okay? Everything okay?
Maribel: Yep.
Dr. Neal: Alright, so we'll start the calibration process now. I'm going to point to different parts on your body right where the sensors are in order to build a three dimensional model of you for the different landmarks on the body here. If you'd stand tall for me, hands by your side.
Next, next, next, next, next, next, next.
So now we'll do the club starting at the butt end and now the face. Pick out your target. Okay. And then walk in and hit the shot. Great shot. Okay go ahead Maribel. Good shot. Well done Maribel. So Maribel what we're going to do now is take the driver away and then hook up your six iron or actually your six hybrid, do the calibration of just the club, we don't need to do your body again and then get you to hit some shots with it.
Okay. And then the next step will be to begin the biofeedback training. The immediacy of the feedback gives you confidence then to say although this feels uncomfortable, I know it's the right thing to do. And then we'll just quickly calibrate that club.
Next. You can push the head up this way for me, perfect. Next, next. Just hold still while I do these three. Next, next, next. Okay. I'm going to tee these up for you just so that it's a little easier off this grass. Okay. Great shot. Well done. Okay Maribel that's great. So we've got all the data that we need now. We'll look at this data, make sure that we get to the root cause of the issues and then the fun begins with the biofeedback training session.